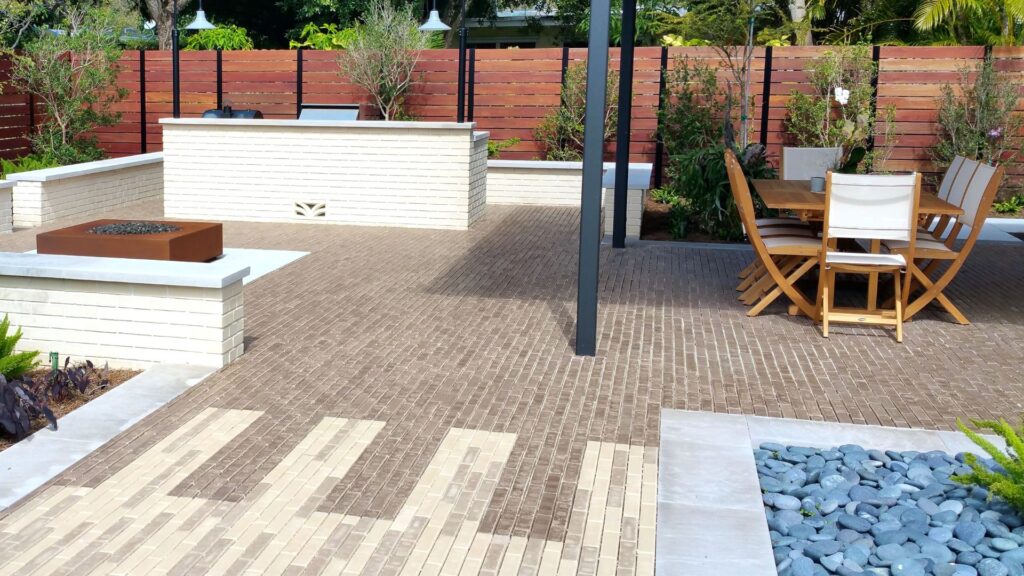
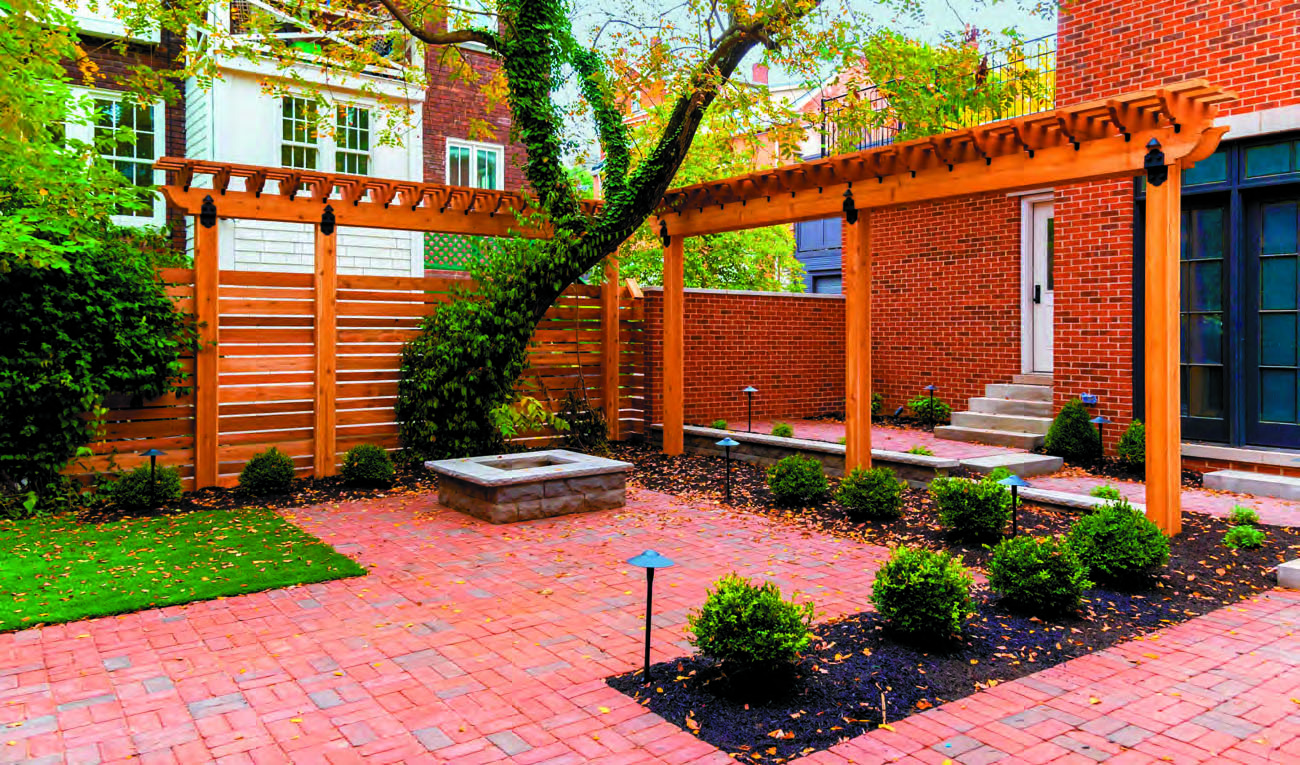
When the COVID pandemic forced everyone to spend more time at home and less time going out, the backyard became the new entertainment “room” for most families. Now that the incidence of this disease has subsided, the outdoor entertainment trend has become even more pronounced. This has encouraged those with DIY DNA to design and build their own backyard patio with brick pavers.
What This Means for You — Building a patio from brick pavers is extremely simple and cost-effective. Acme Brick pavers are designed to interlock without mortar, and this allows homeowners to complete the project without the assistance and expense of a professional masonry expert.
Having a beautiful and functional brick paver patio is as simple as following the directions presented below and buying the best pavers on the market from Acme Brick, Tile & Stone. Click here to find a store near you.
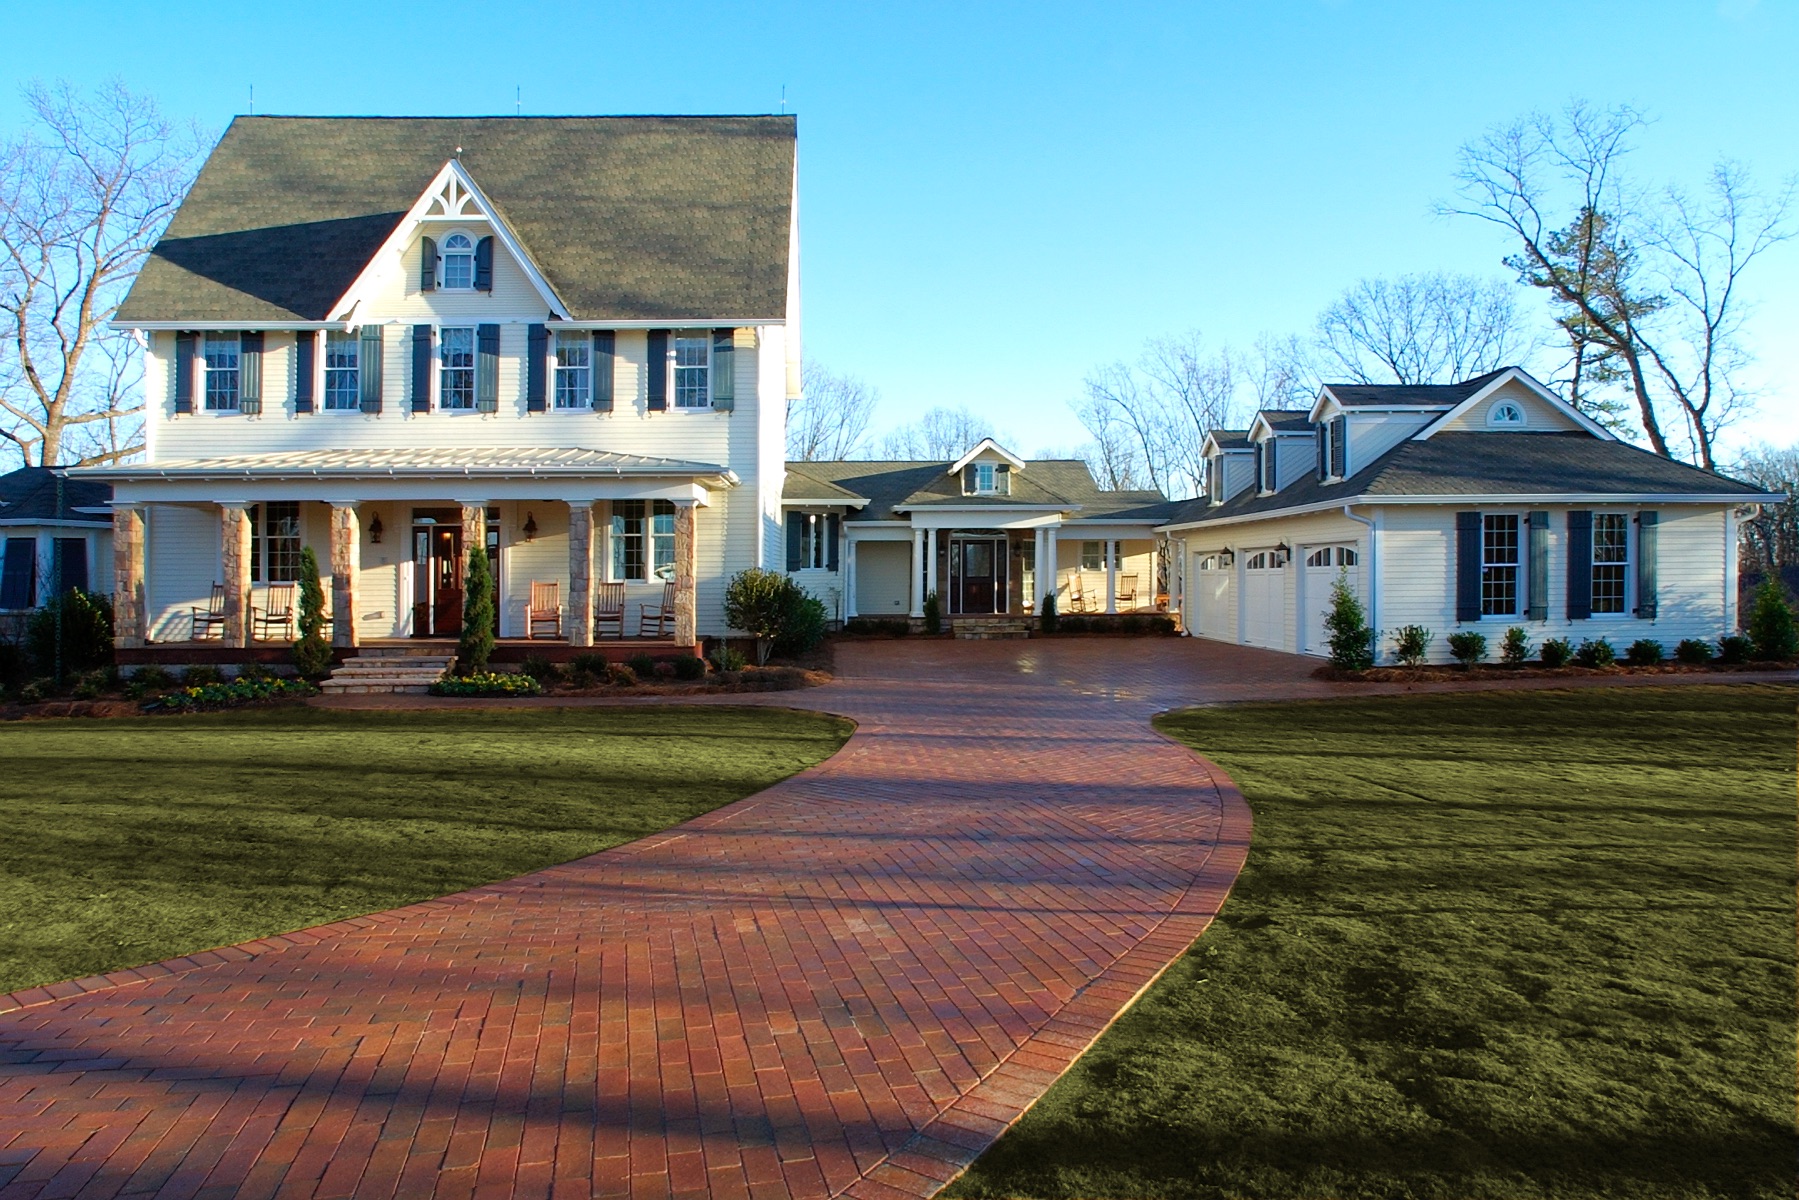
The solid clay paving brick from Acme is the foundation for a beautiful and durable patio. These pavers are hard-fired in computer-controlled kilns at high temperatures to fuse the clay particles for maximum strength. This hard firing creates rich, natural colors that are impervious to ultraviolet radiation. Additionally, the clay paver surface is stain resistant.
These pavers accommodate a do-it-yourself scenario, literally by design. How? When clay pavers from Acme are installed in a flexible paving system, their individual strength is further enhanced by a phenomenon known as “interlock.” A successful flexible paving installation distributes loads evenly through the interaction of pavers, jointing sand, and paving bed. DIYers can achieve interlock using simple tools, inexpensive bedding materials, readily available equipment, and normal high standards of workmanship. Professional labor and mortar are not required.
The manufacturers of these clay pavers are the best in the industry. They include Whitacre Greer, Pacific Clay, Yankee Hill, Marion Ceramics, Pine Hall, and others.
An internet search of the topic “Building Your Own Brick Patio” yields thousands of “how to” websites and articles, and all levels of required expertise. However, one of the best sites on building a basic brick paver patio comes from the home improvement site: Spruce.
The instructions for this simple patio start with an overview:
The experts from Spruce suggest a 10-step process.
Spruce suggests that the homeowner “Use stakes and mason’s line to create layout lines for the patio. Base the dimensions on the brick paver size; the lines should represent the outer edges of the brick, not the edging. The best method for marking the edges is to drive two stakes at each corner, placed about two feet beyond the sides of the patio.
“When you tie lines to the stakes, the points where the lines cross mark the actual corners of the patio. Make sure the string layout is square by measuring diagonally between opposing corners (where the strings meet); the layout is square when the diagonal measurements are equal.”
Water run-off is important to keep the foundation of the home safe. The Spruce experts suggest the DIYer “Place a line level on each layout string and adjust one end of the string up or down, as needed, so the line is perfectly level. Then, lower the strings on the downhill end of the patio by 1/4 inch per linear foot of patio length.
“For example, if the patio is 10 feet long, it will slope down 2 1/2 inches from one end to the other. The downhill end is where you want water to run off the patio. Typically, this should be the end farthest from the house, so surface water sheds away from the house foundation.”
A new patio is getting closer and closer. Can you dig it? Yes, you can! The next step is to “excavate the patio area to a depth of eight inches, extending the excavation about six inches beyond the brick layout on all sides. Slope the soil to follow the layout lines, measuring down from the lines as you go to maintain an 8-inch depth.
“Excavate to full depth along the two sides, then dig out the center, checking with a long, straight 2×4 board and a level to ensure the entire area is flat and level from side to side; the soil base will slope towards the downhill end but will be level from side to side. Tamp the soil thoroughly with a hand tamp or a rented plate compactor.”
“Pour compacted gravel inside the excavated area to a depth of four inches. Rake the gravel smooth and level, slope it to follow the string layout, and tamp it so that it is thoroughly compacted.”
This next step might seem a little more complicated than the others, so we have added a link to better explain it. However, in general, this step requires the homeowner to “Install paver edging along the perimeter of the patio, following the manufacturer’s directions. Standard plastic edging is designed for brick patios and is largely concealed when the bricks are in place. It is installed with metal spikes.
“Line up bricks along the edges to make sure the edging placement is accurate (so that you won’t have to cut any bricks). The edging should fit snugly against the test-fit bricks. Remove the test-fit bricks, keeping the edging in place.”
For a more detailed look at this step, just click here.
Laying landscape fabric over the gravel will suppress the weeds and separate the gravel from the sand layer. The experts say to “pour two inches of sand over the landscape fabric. Use the 2×4 as a screed to smooth and level the sand. There should be two inches between the top of the sand and the top of the patio edging. Remove the layout strings and stakes.”
Pro Tip: Spray the sand with a gentle mist until it is soaked. This will help to concentrate and compact the sand.
The first row of pavers is the most important part of the project. Spruce advises the DIYer to “Lay the first bricks, starting in one corner and running along the edging to complete a row. Alternate each pair of bricks so that two are perpendicular to the edge, then two are parallel, and so on. Press the bricks gently into the sand and put them together as closely as possible. Tap the bricks with a rubber mallet to settle them into the sand, if necessary.
“Run a mason’s line across the first row, aligned with the leading edges of the bricks. Pull the line taut and secure it at the ends with stakes, or simply clamp them to the edging. Straighten the bricks in the first row, as needed, so all leading edges are even with the line.”
Then lay the remaining brick. With the interlocking capacity of these clay pavers, this step will help ensure a firm space for years to come.
The experts note, “Polymeric sand stiffens in the joints between pavers to ‘lock’ them in place and prevent weed intrusion. Spread polymeric sand over the bricks, then sweep across the patio surface with a push broom to work the sand into the cracks. Sweep in multiple directions to reach all cracks, adding sand as you go until the cracks are filled.
“Gently spray the patio with a garden hose to settle the sand in the cracks. This will activate the sand and start the stiffening process. Spread and sweep more sand into the cracks, and then spray again, until the cracks are filled and the sand is settled.”
“Backfill behind the brick edging with soil, sod, or other landscape material. This partially hides the edging to create a finished look, and it helps to hold the pavers and edging in place.”
The final step of this home improvement project is to take a bow and start planning where the outdoor furniture, grill and fire features might look best. Then call the neighbors and let the party begin!
Get the best brick pavers and advice on this DIY project from the experts at Acme Brick, Tile & Stone. Click here to find a store near you. For other home improvement products, take a quick look at the Acme lines.
Thanks for stopping by! We’re constantly working to make Brick.com the best resource for your projects. We’d love to get your feedback about your experience today—it only takes about 60 seconds and helps us make improvements for you.